In today’s world, videography is an important aspect of marketing. Video production in Philadelphia can help increase viewer interest and engagement. Including videography in your overall strategy can help your campaign succeed. Not sure how to approach this kind of project? Here’s a guide to building your video marketing strategy.
What do you want to achieve with videography? First determine your end goals. This could include increased brand awareness, lead generation, converation rates or viewer engagement. Your goals should be specific, realistic and concrete. You also want goals to be measurable so you can track your success. Identify key performance indicators (KPIs) and metrics that you can use to mark progress. Creating a short, straightforward mission statement is another tool you can use in goal setting.
Who do you want to reach? Define the people who you hope will watch your content. Then you can verify that what you’re creating speaks to their needs. Who is your demographic and what are their video preferences? Creating user personas is one way to define your target audience. Journey mapping is another technique that can help you identify how the user would interact with the content and the issues that they might encounter.
Now that you know your goals and target audience, you can get to the actual project. What story do you want to tell to accomplish these goals and reach this demographic? What is the best way to tell it? Gather references by looking at other videos to see what you like. Think of what kind of material would both match your brand and get engagement. Sketch out the framework of the video, including the story and structure. Keep in mind your overall goals and any creative constraints that might apply.
Your budget will determine what’s possible. Video production in Philadelphia could cost anywhere from $5,000 to over $20,000, depending on quality and production value. If you have a limited amount you’re able to spend, you’ll need to work within this range. If you were hoping to do a series of videos, you may just need to start with one. Consult with your in-house videographer or the production company you’re working with to see what’s realistic.
Set a realistic timeline and stick to it. If you want to implement regular videography content, how often will these be scheduled? For single run campaign videos, when is the deadline? Work backwards from the delivery date. Make sure you leave enough time for research, development, production, and post-production. Ask your videographer how much time they need for each of these steps and trust their expertise. Every team member should know their responsabilities and the corresponding deadlines.
Setting measurable goals makes it easy to see results. Look at your predetermined KPIs to see how well your outcomes match up. You might look at metrics such as the number of viewers, drop-off rates, click-through rates, and lead generation. Make sure you have a method in place to collect this information. Not only will you want to know if this campaign is sucessful, but this information will be valuable as a comparison for future projects. Results will help determine if your strategy worked.
With digital content more important than ever, creators of all skill levels are looking for ways to bring their work to the next level. Whether you use Adobe Premiere Pro for your job or hobby purposes, there are always new updates and features being added right under your nose. Maximize your time and skills with these 5 Adobe Premiere Pro features you might not be aware of.
Has science gone too far? Automated editing features are becoming ever more prevalent in photo and video editing tasks. A little while back, Adobe released an update for Premiere Pro called Auto Reframe which automatically pans and scans your content to fit a variety of aspect ratios and resolutions. Manually reframing and cropping your content for social media platforms can become very time-consuming, especially with high energy and cut-heavy timelines. Powered by Adobe’s Sensei AI technology, Auto Reframe analyzes your selected timeline and intelligently reframes it into cinematic 16:9, vertical 9:16, or square 1:1. All the while it keeps your subjects (humans, animals, objects) within the frame… mostly. Other than video footage, this feature can also handle any type of titles and motion graphics. They are also seamlessly resized to fit the new aspect ratio.
Nothing is perfect, and there are times where the reframing and track are not correct. Luckily, you can go into the effect settings and manually reconfigure the keyframes to your heart’s content.
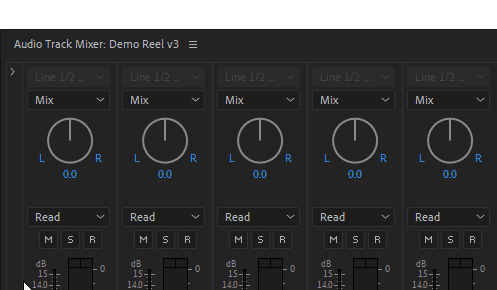
Though Premiere Pro is a video-focused product, the sound is just as important. This tip will be no surprise to those who are familiar with DAWs like Ableton Live or Adobe Audition. In Premiere Pro you can add your favorite VST audio plug-in software onto a track in the audio mixer or on a clip. Whether you have an ambient track that is not guttural enough or an interview that has rollercoaster looking waveforms, external plugins may help in a way the default Adobe plugins may not. Already have some plugins installed? Make sure they are active. In Premiere Pro go to [Preferences > Audio] and click the [Audio Plug-In Manager button]. Check if it is pointed at your plug-in folders and press [Scan for Plug-Ins].
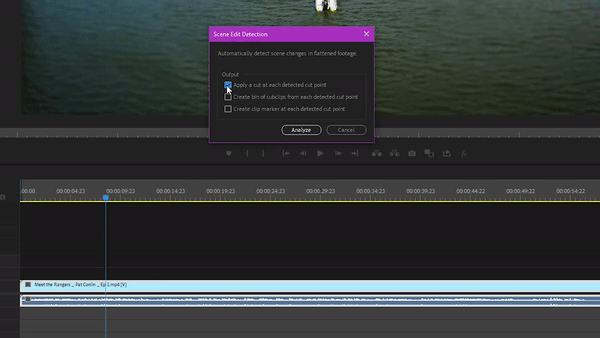
Have an already baked or edited video that you need to recut and do not have the project file for? Automatic Scene Detection is your answer. Similar to the AI-Powered Auto Reframe tool, Automatic Scene Detection will find cuts or scene changes and give you the option of applying direct cuts at the detected points, create sub-clip bins of the detected cut points, or leave markers for manual review. Once again, this is a time-saving option for those who do not have the time to review longer, already baked video files.
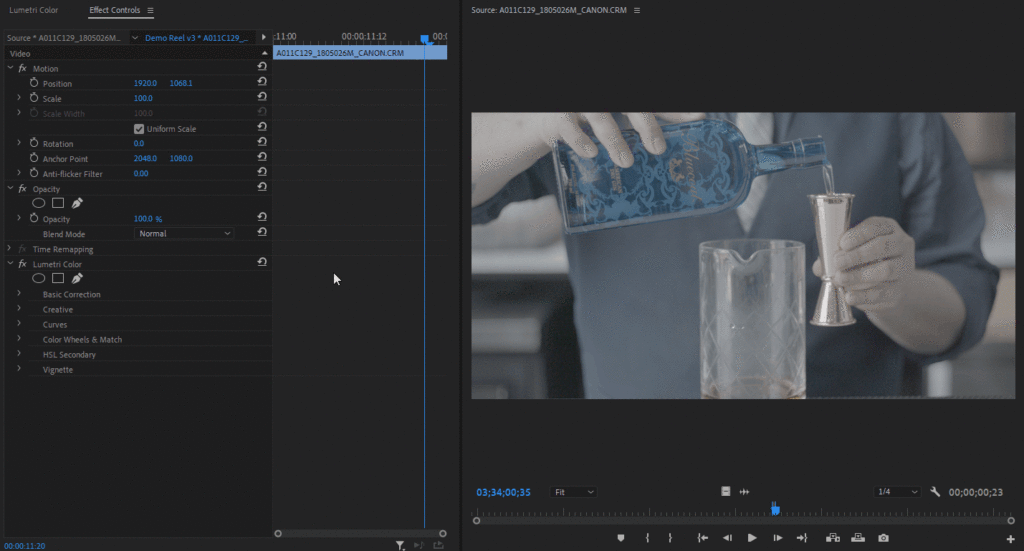
If you have used Premiere Pro semi-regularly, you probably have added effects to a single clip or sequence before. You may or may not know that you can also add a blanket effect to the master/parent clip. When you apply an effect to a master clip, the effect automatically ripples down to all sequence clips (child clips) created from that master clip. The user interface does not make it immediately obvious but take a look at the animation above if you need a visual aid.
Bonus: You will also find raw processing options here if you have shot footage in formats such as ProRes RAW, Blackmagic RAW, Cinema RAW Light, REDCODE Raw, ARRIRAW, etc. Though if you are shooting in these formats, you likely already know this!
You may have noticed an additional button added to the top of Adobe Premiere Pro’s user interface. Depending on your workspace configuration, in the default interface, you will see a share-like button towards the top right of the program monitor. This allows editors to work more efficiently by providing direct access to frequently used export settings. It will render depending on your selected in and out points in your timeline.
So does this mean that you should be using every one of these tools? No. These features should be used on a project and personal preference basis. Take a look at the pros and cons for each feature below.
Pros: Saves you a boatload of time, does most of the reframing dirty work for you.
Cons: You should always check the AI’s work, as it is not perfect (yet). At times you will need to go into the effect settings and manually reconfigure some shots.
Pros: Unlimited creativity with sound design and manipulating existing waveforms in your timeline.
Cons: Expect significant CPU usage increase when using multiple plugins (your mileage may vary, try to stick to individual tracks instead of clips).
Pros: Saves you a lot of time and is accurate and fast in detecting scene changes and cuts.
Cons: Should always have its results checked for accuracy, may have trouble with motion-graphic heavy files.
Pros: If the footage you are editing is light-controlled and consistent (such as an interview), throwing effects on the master may save you some time on the color grading end.
Cons: Depending on the type of content you are editing; it is almost always better to color grade and polish footage on a clip-by-clip basis. This allows for more creative control if there is a deviation in the lighting in the clip or environment.
Pros: Great for sending a quick clip to a client or for quick reviewal.
Cons: Limited codecs and rendering options.
In search of a Digital Content Producer position? Join our team at Neff!
Remotely video editing large projects may seem like a tough nut to crack but it is possible. With many video editors working from home, the need for speedy and stable access to large volumes of files is immense. For a single project, you could easily be looking at hundreds of gigabytes of data to a few terabytes. Alas, there are solutions out there and we have employed many of these methods at Neff.

Most video editors will be familiar with using physical media. This includes external hard drives, solid-state drives, and RAIDs to name a few. Simply connect the device to your computer and copy the files that you will need for your project. Depending on the type of workstation you will be using, some formats or implementations of physical media may work better than others.
Solid-state drives have no moving parts. This makes them faster than a traditional mechanical hard drive that relies on a spinning disk. They also come in smaller form factors than their mechanical counterparts. Look for SSDs with USB-C and/or Thunderbolt 3 connectivity if you have a computer that supports these connectors. These standards allow for the highest read & write speeds when editing video. Moreover, this will allow you to work directly off of the drive itself instead of dragging files back and forth. If you are needing to edit remotely with speed and ease, look no further than a solid-state drive.
Mechanical hard drives are still competitive in this day and age if you value more storage capacity over read & write speeds. External HDDs are perfect if you are not working directly off the drive but rather only transferring the data you need (or using it as a backup device). You will be able to find higher storage capacity HDDs for less than solid-state drives. Therefore, if you are looking for a long term storage option or cheaper storage, HDDs are the most cost-effective option.
A redundant array of independent disks (or RAID) treats multiple hard drives as one single drive unit. It also allows for a plethora of redundancy options with RAID 0 & RAID 5 being the most popular for video editing. What is the difference between the two you may ask?
RAID 0 will provide the fastest read and write speeds of any RAID configuration. This works by dividing data evenly between all drives. But there is one main downside. As a result of the data getting split between all of the drives, a single hard drive failure can mean you to lose everything. It is recommended to never leave source material on a RAID 0 drive without it being backed up first.
RAID 5 provides the best of both worlds in terms of speed and redundancy. With this configuration, one hard drive can fail and you will still be able to access all of your data. When it comes to RAIDs, they are not a replacement for a backup plan. Always backup your data even if you have it on a RAID.
Overall it is important to recognize what format your drive is using. You will not be able to access a drive formatted for a Mac (HFS+) if you will be editing from a windows (NTFS) work station. One way around this is by using ExFAT which will allow cross platform access but there are limitations. ExFAT may introduce slower transfer speeds and reliability may be questionable due to the lack of journaling. There are also paid options out there that will help you access drives across operating systems.
From the convenience of your remote working space, it is possible to transfer the footage/files you need to complete your project over the internet. This can be done through a mixture of software and hardware solutions.
Dropbox and Google Drive are great services for file storage, syncing files across multiple devices, and using the cloud as a backup for your projects. Down the road, you may need to pay for more storage which comes at a monthly price (especially if you are video editing in 4K resolutions with higher bit-rates).
Resilio Sync and Syncthing are more challenging to initially set up but also more rewarding. The difference between this implementation and Google Drive/Dropbox is that these applications utilize peer-to-peer file synchronization. By using this method, it gives users more control over the privacy aspects of their data (not hosted in a third party cloud). Also, peer-to-peer (P2P) syncing allows senders and receivers to verify the security of their connection and any data they exchange. As a result, this can lead to faster downloads as there is no ‘middleman’ or client-server. Resilio Sync requires a subscription while Syncthing is free and open source.
Network-attached storage (NAS) devices are excellent solutions for creating a centralized location for your files. Most network-attached storage solutions come prepackaged with easy to set up remote access software. The most common NAS brands such as Synology and Qnap provide free personal cloud access. This allows users to reach their files online in a pinch. Above all, it is critical to remember that your NAS’s internet stability and speed will dictate how you will be able to access your data (when using the personal cloud option).

Teamviewer is a cross-platform remote desktop application that allows you to have full mouse and keyboard control on a remote computer. This is great if you need to transfer files or access video projects at a limited level. Furthermore, this software suffers from a noticeable delay and image quality. You may run into issues if you try to video edit directly off of your remote workstation.
Parsec, originally software built for personal cloud gaming, has an extremely low latency footprint and can stream UHD resolutions up to 60 frames per second which is a boon for video editing. Not to mention the color accuracy of the image is very passable and is perfectly capable for general editing purposes. Additionally, this type of implementation allows you to harness the horsepower of your workstation to the fullest. You can access and edit from your main workstation on any device of your choice without compromise.
There is no correct answer when it comes to finding the right remote video editing solution that works for you. No matter what, there will be trade-offs for each method. It all comes down to a matter of preference, convenience, and practicality. Depending on the footage or source material you are working with, one solution may work better than another.
Neff is honored to be ranked #1 best video production company in Philadelphia on peerspace’s favorite video production companies in Philadelphia (2020). Peerspace is the go-to online resource for finding photo and video locations in cities across the country.
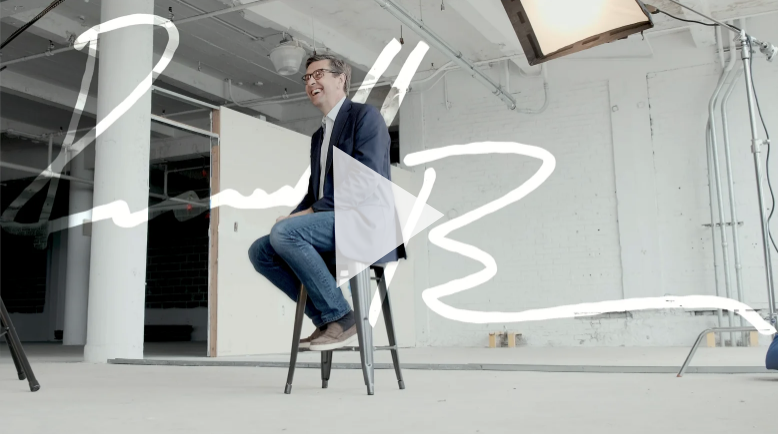
The Neff team comprises brand experts focused on producing effective media and videos for commercials and corporate clients, specializing in brand stories, corporate videos, aerial footage, real estate videos, and short documentaries.
peerspace
Videography is an impactful tool for adding dimension and helping to humanize a brand. Through our integrated approach, we pair videography with other marketing services including Advertising, Website Design and Development, Social Media, and Public Relations for a comprehensive strategy.
Neff was chosen as the best video production company in Philadelphia because of the quality of our process and product. We offer complete videography capabilities from storyboarding and scripting to filming and post-production. We capture commercials, brand stories, interviews, promotional videos, drone footage, and more.
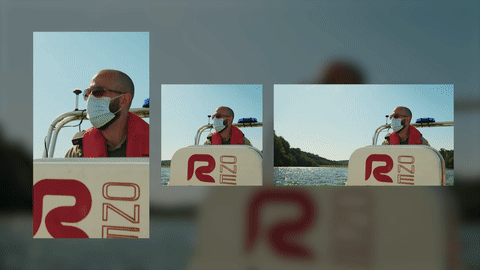
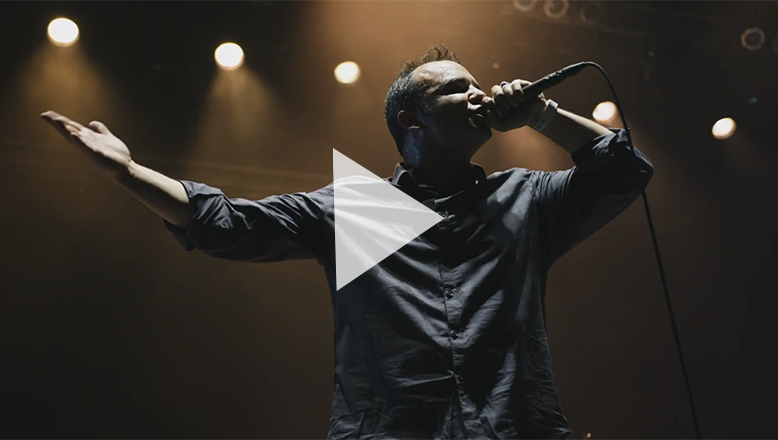
One example of the videography work that we do is short form documentaries such as our features on Philadelphia Distilling’s Bluecoat American Dry Gin and the Make The World Better Foundation’s 2019 Benefit Concert.

We not only film the footage, but also have a thorough process of writing the content and an editing phase that includes color grading, audio engineering and motion graphics.
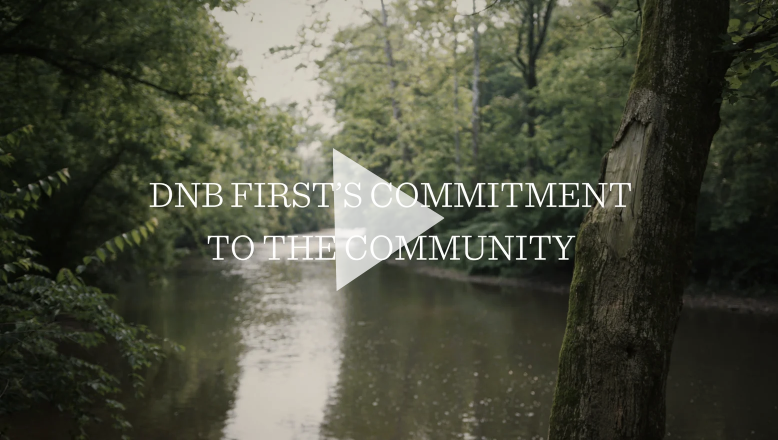
Our videography team also creates behind the scenes awareness videos that incorporate interviews and animation elements. Some examples of these are DNB First’s Wissahickon Trail Classic and the Arena Football League’s Commissioner’s Corner.
We’ve done videography for a diverse range of clients including food and beverage, music, sports, and nonprofits.
In addition to brand stories and interviews, we also make broadcast quality commercials. These include an introduction to Neff and a commercial spot for 21st Century Cyber Charter School.
We’re proud to be named a top video production company in the Philadelphia region. Check out all our videography work on vimeo and youtube and our complete portfolio on our website.